These instructions are a supplement to Step 1 of the earlier instructions that showed you how to create a GIF image with a Transparent background color using the Microsoft Paint program. Unfortunately, the version of Paint on Windows 2000 lets you identify a transparent color but the Windows XP version does not. These instructions show you how to take your GIF creation (created and saved by Paint) and to reopen it with Microsoft Photo Editor to set a transparent background color. All of the lab PCs on campus should have Microsoft Photo Editor on them (it is one of the Microsoft Office Tools).
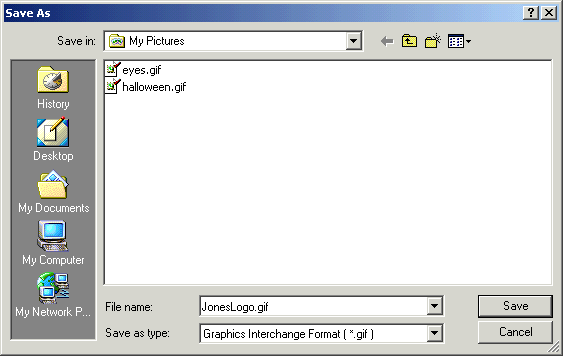
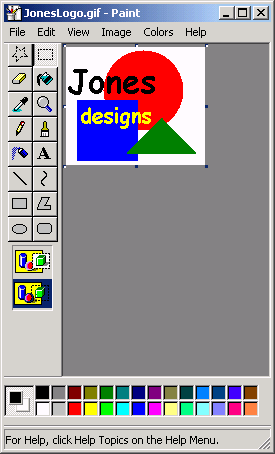
Use the Paint program to create your logo and save it as a
GIF file. After saving it on your computer you can quit the
Paint program.

|

|
Reopen the GIF file with Microsoft Photo Editor. There are several ways
you can do this. First, try double-clicking the icon for the GIF file and see if
that automatically launches Photo Editor to open your file. Otherwise, try
right-clicking the icon for the GIF file and in the menu that pops up
select the Open With option and choose Microsoft Photo Editor from the
list of choices. Once your graphic image is displayed on screen,
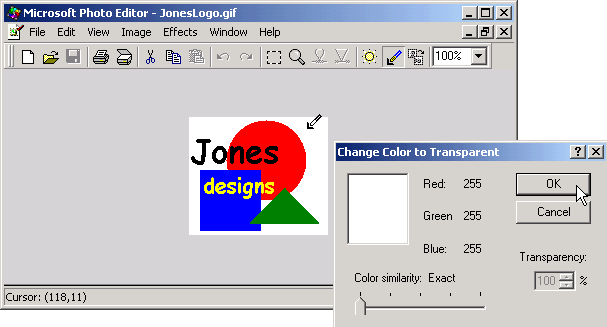
select the Set Transparent Color tool from the tool bar.
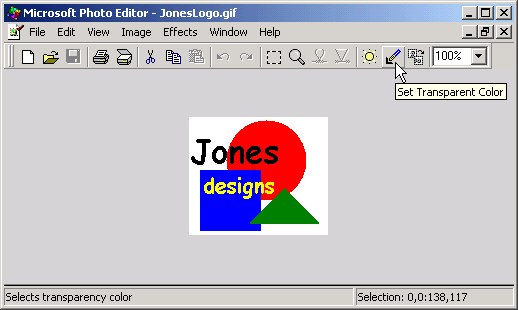
Your mouse "arrow" pointer should now be a "wand".
Move the tip of the wand to a color in your graphic image that you want
to set as transparent and click on it. The Change Color to Transparent
dialog box opens. The example shown here is simple, all pixels that exactly match
the selected color (white) are to be 100% transparent, so the OK button is pressed
without doing anything else. More complex situations arise, especially if you
are working with photo images or JPEG files that were converted to GIF files.
In such cases you may want to experiment with the slider bar to identify a range of
colors (close to the selected one) for transparency.

|
After clicking the OK button you will again see the image, but with a checkerboard pattern that highlights the transparent portion (you will not see checkerboard patterns when it is in a web page). You can UNDO this (by pressing CTRL-Z) if it is not what you wanted and continue by repeating the previous step. You may even need to go back and re-open the image with the Paint program so that you can fill-in some color to differentiate between transparent background sections of the picture and opaque sections, before setting a transparent background with the Photo Editor program. |
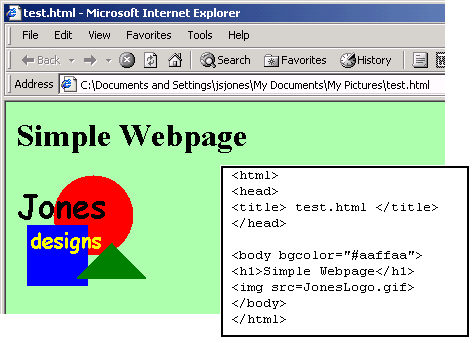
And here is what it looks like in a webpage. The actual
webpage shown here was a file named test.html,
located in the same directory as the image file.
The contents of this test.html file are displayed in the box inset.
